


Split AC Unit Installation: Complete Guide for Wholesalers and Distributors
The split AC unit installation process plays a critical role in ensuring optimal performance, energy efficiency, and customer satisfaction. For wholesalers, suppliers, and distributors, understanding proper installation procedures helps provide better service, reduce warranty claims, and strengthen client relationships.
What Is a Split AC Unit?
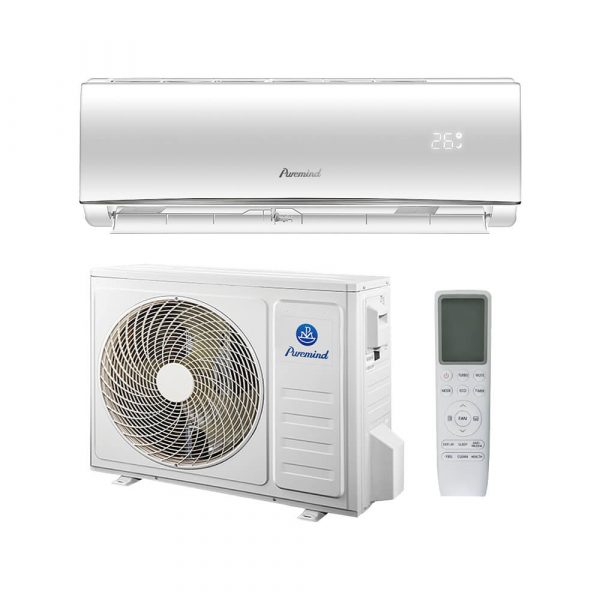
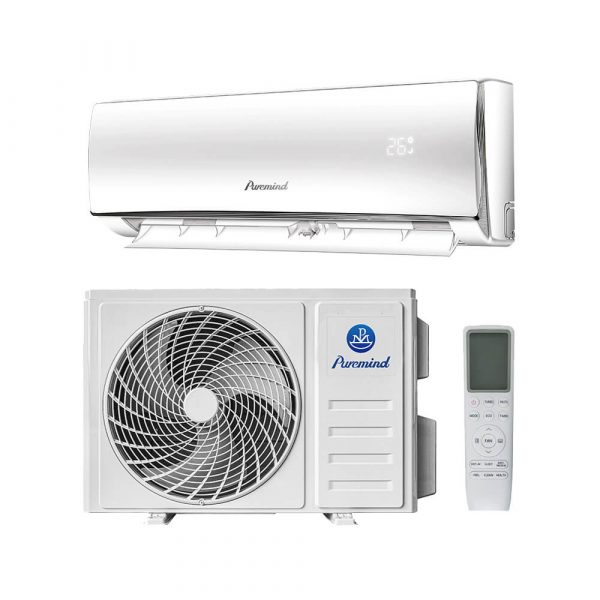
A split AC unit consists of an outdoor condenser and one or more indoor air-handling units connected by refrigerant lines. Unlike window or portable units, split systems offer higher efficiency, quieter operation, and more flexibility in placement.
Why Proper Installation Matters
- Performance Optimization – Correct installation ensures maximum cooling efficiency.
- Energy Efficiency – Prevents energy loss and keeps utility bills low.
- System Longevity – Reduces strain on components and extends lifespan.
- Warranty Compliance – Many manufacturers require professional installation to honor warranties.
Tools and Materials Needed for Split AC Unit Installation
- Drill and hole saw
- Vacuum pump
- Manifold gauge set
- Refrigerant lines and insulation
- Mounting brackets and screws
- Electrical wiring and circuit breaker
Step-by-Step Split AC Unit Installation Guide
1. Choose the Right Location
Select a spot for the indoor unit with unobstructed airflow and easy access for maintenance. The outdoor unit should be placed on a stable, level surface with sufficient ventilation and minimal exposure to direct sunlight.
2. Install the Mounting Bracket
Secure the indoor unit’s mounting plate on the wall, ensuring it is level. This prevents water leakage and ensures proper drainage.
3. Drill the Access Hole
Create a hole through the wall for the refrigerant lines, drain pipe, and electrical cables. Use insulation to prevent air and moisture leaks.
4. Connect Refrigerant Lines and Drain Hose
Run the refrigerant pipes and drain hose through the hole, taking care to avoid kinks or sharp bends that could affect performance.
5. Mount the Indoor Unit
Hang the indoor unit on the mounting bracket, ensuring all connections are secure and level.
6. Install the Outdoor Unit
Place the outdoor unit on a concrete pad or wall bracket. Secure it to prevent vibration and noise.
7. Connect Electrical Wiring
Follow manufacturer guidelines for wiring connections between the indoor and outdoor units, and ensure proper grounding.
8. Vacuum and Test
Use a vacuum pump to remove air and moisture from the system. Check for leaks before releasing refrigerant into the lines.
9. Final Testing
Turn on the system, check airflow, and verify that both cooling and heating functions operate correctly if the unit has a heat pump feature.


Common Installation Mistakes to Avoid
- Incorrect line set length, leading to reduced efficiency.
- Poor insulation on refrigerant lines causing energy loss.
- Improper drainage setup leading to water leaks.
- Placing the outdoor unit in a poorly ventilated area.
Maintenance Tips Post-Installation
- Clean air filters every 1-3 months.
- Check refrigerant levels annually.
- Inspect electrical connections regularly.
- Schedule professional servicing once a year.
Benefits for Wholesalers and Distributors
By mastering split AC unit installation knowledge, wholesalers and distributors can offer value-added services such as training, installation kits, and post-sale support, increasing customer loyalty and revenue.
Recommended Products
Puremind offers high-quality split AC units with energy-efficient performance and customizable OEM/ODM options. Explore their split air conditioner range for more details.
Conclusion
Proper split AC unit installation ensures efficiency, performance, and longevity, making it essential for wholesalers, suppliers, and distributors to understand the process thoroughly. For more technical guidelines and HVAC industry standards, visit EPA.
