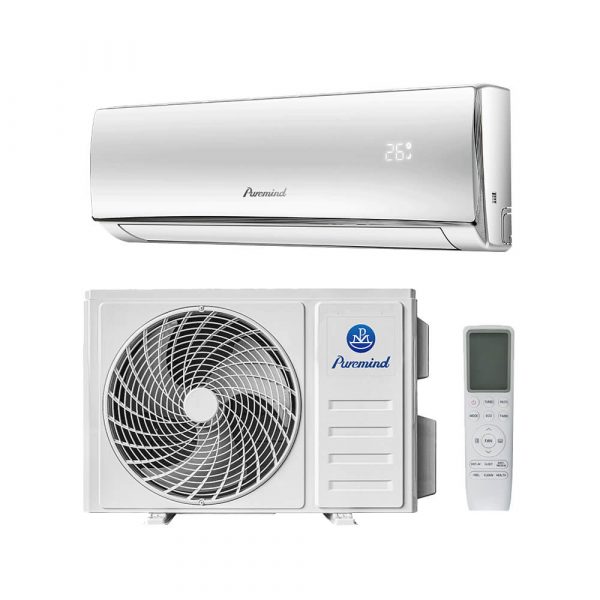
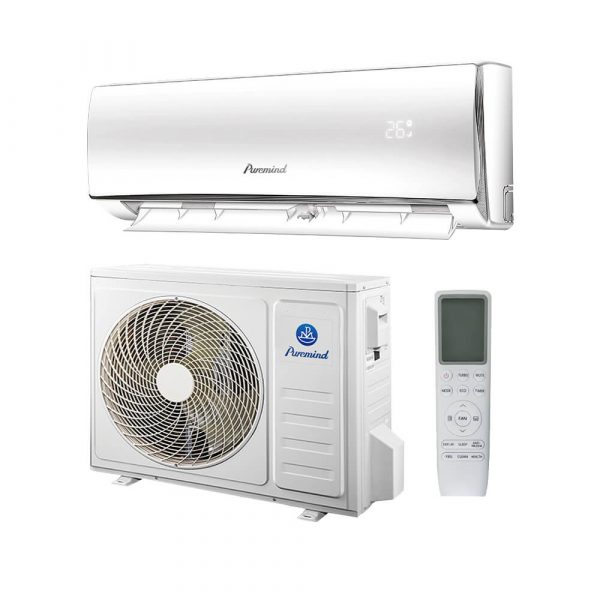
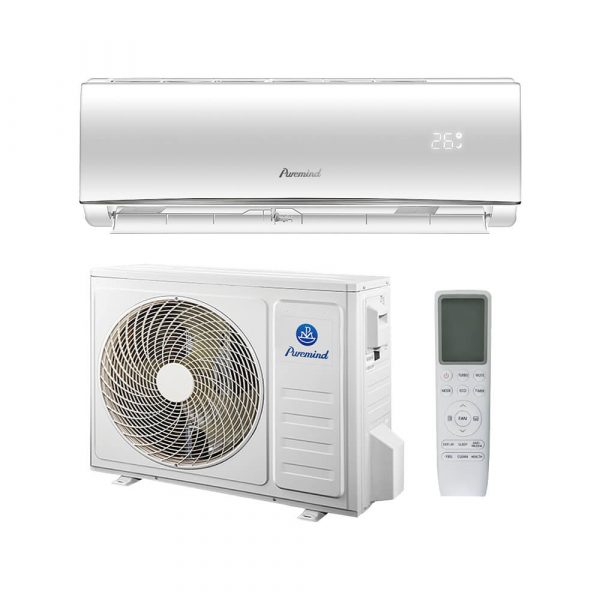
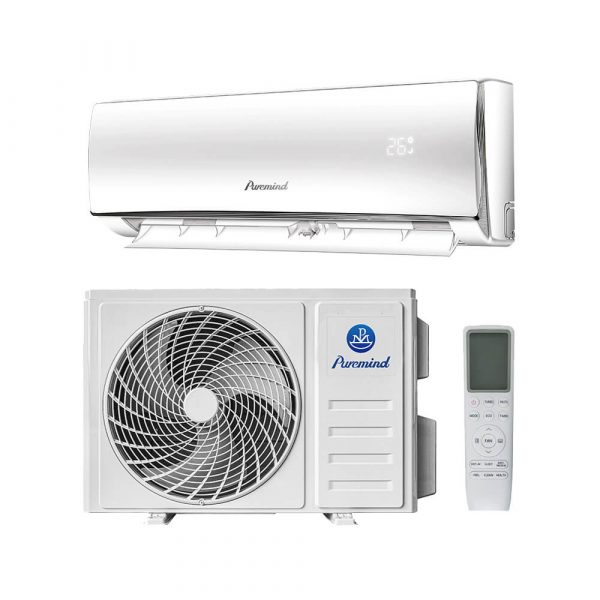
Split AC Installation: Step-by-Step Guide for Efficient Cooling
Installing a split AC system is one of the best ways to ensure reliable and energy-efficient cooling for homes and businesses. A professional split AC installation not only maximizes comfort but also extends the lifespan of your unit and improves energy efficiency. This guide walks you through the installation process, key considerations, and best practices to achieve optimal results.
Why Proper Split AC Installation Matters
Even the highest quality split air conditioner can underperform if not installed correctly. Poor installation may lead to higher energy bills, uneven cooling, frequent breakdowns, and reduced equipment lifespan.
- Energy Efficiency: Correct installation ensures maximum SEER performance.
- Comfort: Even airflow distribution across the room.
- Longevity: Proper setup reduces mechanical stress on components.
- Warranty Compliance: Many manufacturers require professional installation to maintain warranty coverage.
Tools and Materials Needed
Before starting the split AC installation, ensure you have the necessary tools and materials:
- Drill with hole saw
- Level and measuring tape
- Vacuum pump
- Refrigerant manifold gauge set
- Pipe cutter and flaring tool
- Insulation tape
- Mounting brackets
Step-by-Step Split AC Installation Process
1. Choose the Right Location
For the indoor unit, select a spot that allows optimal air circulation and is free from direct sunlight and heat sources. The outdoor unit should be placed in a shaded, well-ventilated area to improve efficiency.
2. Install the Mounting Plate
Fix the indoor unit’s mounting plate securely to the wall, ensuring it is perfectly level. This prevents water leakage from the drain pipe.
3. Drill the Hole for Piping
Drill a hole (usually 65-80mm) through the wall for the refrigerant pipes, drain hose, and electrical wiring. Angle the hole slightly downward toward the outside for proper drainage.
4. Mount the Indoor Unit
Carefully connect the refrigerant pipes, drain hose, and wiring before hanging the indoor unit on the mounting plate.
5. Prepare the Outdoor Unit
Place the outdoor condenser unit on a stable, level surface. Use anti-vibration pads to reduce noise and mechanical wear.
6. Connect the Refrigerant Lines
Run the copper tubing between the indoor and outdoor units, ensuring proper insulation to prevent condensation and energy loss.
7. Vacuum the Lines
Use a vacuum pump to remove air and moisture from the refrigerant lines. This is a crucial step in split AC installation to prevent system inefficiency and damage.
8. Release the Refrigerant
Once the lines are vacuumed, open the service valves to release the refrigerant into the system.
9. Test the System
Turn on the unit and check for cooling performance, unusual noises, and any refrigerant leaks.
Best Practices for Split AC Installation
- Always follow the manufacturer’s installation manual.
- Ensure correct pipe sizing and insulation.
- Keep refrigerant line bends minimal to avoid flow restrictions.
- Check voltage compatibility before starting installation.
Common Mistakes to Avoid
- Incorrect pipe length, leading to poor cooling efficiency.
- Skipping the vacuum process, causing moisture damage.
- Improper drain hose slope, leading to water leakage.
- Mounting the indoor unit near heat sources.
Cost Considerations
The cost of split AC installation varies depending on labor rates, system size, and installation complexity. Investing in professional installation pays off through better performance and fewer repairs.
Maintenance After Installation
Regular maintenance keeps your split AC system running at peak efficiency.
- Clean filters every 2–4 weeks.
- Inspect and clean the outdoor condenser coil.
- Check refrigerant levels annually.
- Ensure drain lines remain clear.
Energy Efficiency Tips
- Use programmable thermostats to regulate cooling.
- Seal doors and windows to minimize heat gain.
- Pair your system with ceiling fans for better air distribution.
When to Replace or Upgrade Your Split AC
If your unit is over 10–15 years old, upgrading to a newer, more efficient model may provide better cooling and lower energy costs. For the latest high-efficiency split air conditioners, check our product catalog.
Conclusion
A successful split AC installation ensures reliable cooling, lower energy bills, and long-term comfort. Whether you’re installing a new unit or replacing an old one, following proper installation steps and maintenance practices will maximize performance. Explore our split air conditioner collection for high-quality options that meet your needs.


