Mini Split Air Conditioner DIY: What You Need to Know
As energy-efficient climate control becomes a priority, many homeowners are turning to ductless systems. A mini split air conditioner DIY installation seems like a cost-saving, flexible solution—but is it right for everyone? In this guide, we explore whether installing your own mini split is practical, what tools and knowledge are required, step-by-step instructions, safety considerations, and when to call a professional.
What Is a Mini Split Air Conditioner?
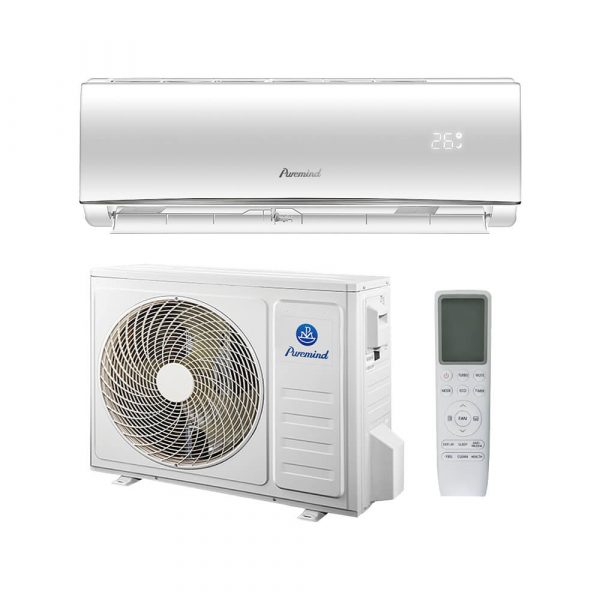
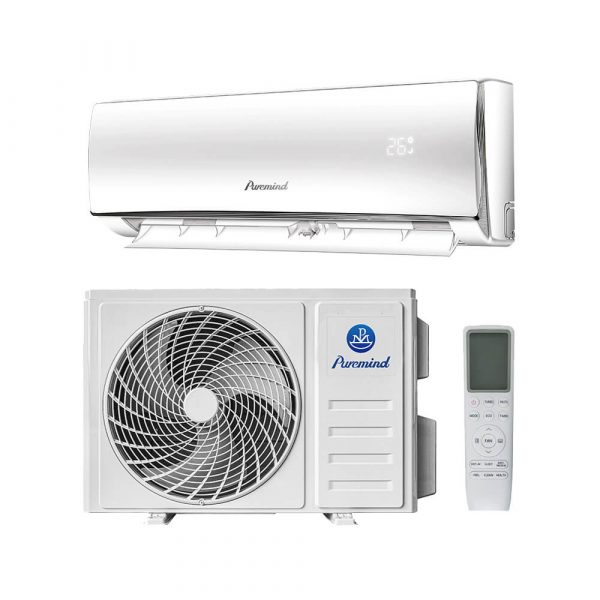
A mini split air conditioner is a ductless system that provides targeted cooling (and often heating) through an outdoor compressor and one or more indoor air handlers. It’s an excellent choice for homes without existing ductwork or for room-specific temperature control. Many DIY enthusiasts find pre-charged mini split systems appealing because they reduce the need for refrigerant handling.
Is DIY Installation Really Feasible?
The short answer: Yes, but with conditions. Some mini split systems are specifically designed for DIYers, offering pre-charged line sets, quick-connect fittings, and step-by-step guides. However, full-scale systems with custom line lengths, multiple zones, or advanced features usually require a certified HVAC technician due to local codes and refrigerant laws.
Benefits of DIY Mini Split Installation
- Cost Savings: You can save $1,000–$3,000 in labor by handling the installation yourself.
- Flexible Timing: Work at your own pace without waiting for contractor availability.
- Sense of Accomplishment: For handy homeowners, installing an AC system can be a rewarding project.
However, there are also risks—including improper installation, leaks, or voided warranties. If you’re not fully confident, consider consulting with a pro before starting.
What You’ll Need
Tools
- Drill and hole saw (for line set and drain hose)
- Stud finder
- Level and measuring tape
- Wrench set
- Electrical wire stripper and voltage tester
Materials
- Mini split system (pre-charged recommended)
- Mounting bracket for indoor unit
- Line set covers (for aesthetics and protection)
- Electrical disconnect box and weatherproof conduit
Step-by-Step DIY Installation Guide
Step 1: Choose Your Location
Pick a central location for the indoor unit, ideally 6–7 feet off the floor, with enough clearance above and to the sides. The outdoor unit should be mounted on a level pad with at least 12–24 inches of airflow clearance.
Step 2: Mount the Indoor Unit
Secure the mounting plate to wall studs. Drill a 3-inch hole through the wall for the refrigerant lines, drain hose, and electrical cable. Feed the bundled lines through the hole and mount the unit onto the bracket.
Step 3: Install the Outdoor Unit
Place the condenser on a concrete pad or wall bracket. Connect the pre-charged lines to the appropriate valves. Be sure not to kink or overstress the copper tubing.
Step 4: Electrical Connections
Install a disconnect box near the condenser and run wire from the breaker panel. Always turn off power before working. Follow manufacturer wiring diagrams precisely—incorrect wiring can damage the system or pose a fire hazard.
Step 5: Test and Finish
Power on the system and check for proper function. If your unit includes a vacuum pump or requires refrigerant adjustments, professional tools or licensing may be necessary.
Hide the line set with covers and seal the wall opening with weatherproof caulk. Program your remote or app, and enjoy your new comfort system!
Common Pitfalls to Avoid
- Wrong system sizing: A system too small or too large will result in inefficiency. Use a BTU calculator to choose correctly.
- Poor drainage: Incorrectly sloped drain hoses may cause leaks or mold buildup.
- Not vacuuming lines (for non-precharged units): Air or moisture in the lines can severely damage the compressor.
- Skipping permits: Many localities require permits for electrical work and refrigerant handling.
When to Call a Professional
Even with a DIY-friendly system, you should consider hiring a certified HVAC technician if:
- You’re uncomfortable with electrical work
- Your unit requires vacuuming and refrigerant charging
- You need to run line sets longer than included kits allow
- You’re installing a multi-zone system
Also, improper installation may void manufacturer warranties—always read the warranty terms before attempting a DIY project.
Top DIY-Friendly Systems
Look for brands and models labeled as “DIY mini split kits,” especially those with:
- Pre-charged refrigerant lines
- Quick-connect fittings
- Clear manuals or video tutorials
- Wi-Fi connectivity for app control
Want a professionally built unit that’s ideal for both DIYers and contractors? Check out Puremind’s selection of high-quality split air conditioners suitable for a variety of installation needs.
Maintenance After Installation
Whether you install it yourself or not, routine maintenance is key:
- Clean filters: Every 2–4 weeks
- Check for ice buildup: Could signal airflow or refrigerant issues
- Clean coils and fans: Seasonally for optimal airflow
- Inspect wiring and line insulation: Once or twice per year
Conclusion
Doing a mini split air conditioner DIY installation can be a rewarding project for handy homeowners, offering both cost savings and climate comfort. However, it’s important to know your limits and ensure safety and efficiency. For complex setups or non-precharged units, a hybrid approach—where you prep the installation and let a pro handle refrigerant—can be the best of both worlds.
Looking for a reliable mini split system that supports both DIY and pro installs? Explore Puremind’s expertly engineered split AC solutions today.