How to Install a Split System Air Conditioner: Step-by-Step Guide
Installing a split system air conditioner is an efficient way to cool or heat your home with minimal disruption and optimal energy efficiency. Whether you’re a DIY enthusiast or just want to understand the process before hiring a technician, this guide will walk you through every major step to install a split system air conditioner.
What Is a Split System Air Conditioner?
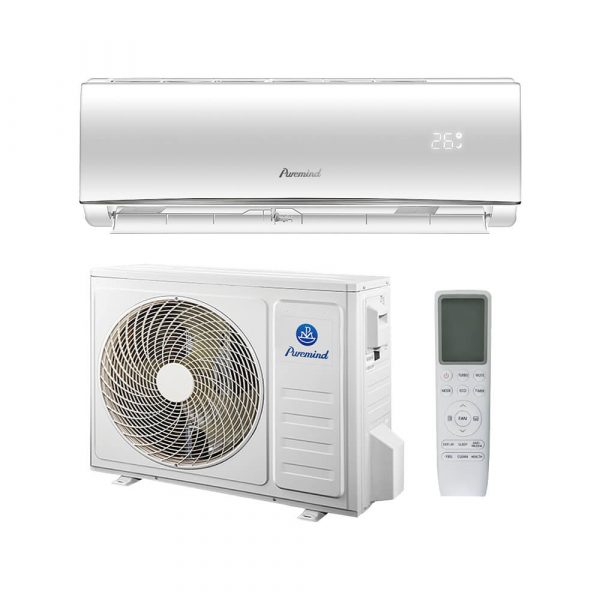
A split system air conditioner consists of two main components:
- Indoor Unit: Usually mounted on a wall, this unit contains the evaporator coil and blower fan.
- Outdoor Unit: This houses the compressor and condenser coil and is installed outside your home.
The two units are connected via refrigerant piping and electrical wiring through a small hole in the wall. Split systems are known for their quiet operation, energy efficiency, and precise climate control.
Can You Install a Split AC Yourself?
While many modern mini split systems are marketed as “DIY-friendly,” installing one still involves handling refrigerants, electrical connections, and potentially drilling into walls. If you’re comfortable with basic tools and follow safety guidelines, DIY installation is possible for pre-charged systems. However, local laws may require a licensed HVAC technician to complete the final refrigerant connections.
Tools and Materials Needed
- Drill and hole saw
- Level
- Stud finder
- Screwdrivers and wrenches
- Mounting bracket for indoor unit
- Insulated copper refrigerant lines
- Condensate drain pipe
- Electrical wire and conduit
- Vacuum pump (for non-pre-charged systems)
Step-by-Step Installation Process
Step 1: Choose the Right Location
Start by selecting suitable spots for both the indoor and outdoor units:
- Indoor Unit: Install at least 7 feet off the ground, away from direct sunlight or heat sources.
- Outdoor Unit: Place on a stable, flat surface with good airflow. Avoid dusty or heavily polluted areas.
Step 2: Mount the Indoor Unit
- Use a stud finder to locate wall studs.
- Attach the mounting plate to the wall using appropriate screws and anchors.
- Drill a 3-inch hole through the wall for piping and wiring. Angle the hole slightly downward for water drainage.
Step 3: Connect Refrigerant Lines and Drain Pipe
Pass the refrigerant lines, power cable, and drain pipe through the hole. Ensure all connections are tight and well-insulated to prevent energy loss and condensation.
Step 4: Mount the Outdoor Unit
- Set the outdoor unit on a concrete pad or wall bracket.
- Ensure it’s level and has at least 12–24 inches of clearance around all sides.
- Use anti-vibration pads to reduce noise transmission.
Step 5: Connect Refrigerant and Electrical Lines
Carefully connect the refrigerant lines from the indoor unit to the outdoor unit. Use a torque wrench to ensure fittings are sealed. Connect the electrical wires according to the wiring diagram included with your system.
Step 6: Remove Air and Moisture
If you’re not using a pre-charged line set, connect a vacuum pump to the service port to evacuate the air and moisture from the system. This step is crucial for optimal performance and should be done by a certified technician if required by local regulations.
Step 7: Test the System
After all connections are secured, power on the system and test its functionality. Monitor cooling performance, listen for unusual noises, and ensure there are no refrigerant leaks.
Tips for a Successful Installation
- Double-check your measurements before drilling.
- Use weatherproof sealant around the wall hole to prevent moisture intrusion.
- Leave slack in the refrigerant lines to absorb vibration.
- Refer to your specific model’s manual for detailed wiring instructions.
When to Call a Professional
Even though DIY kits make installation accessible, you should hire a professional in the following cases:
- You need to install multiple indoor units (multi-zone systems).
- Your system isn’t pre-charged with refrigerant.
- You’re unfamiliar with local building codes or HVAC safety requirements.
Estimated Installation Cost
| Installation Type | Estimated Cost (USD) |
|---|---|
| DIY with Pre-charged Unit | $300 – $800 |
| Professional Single-Zone Install | $1,200 – $2,500 |
| Multi-Zone Install | $3,000 – $6,000 |
Where to Buy Quality Split Air Conditioners
Looking for reliable split AC systems with excellent cooling and energy efficiency? Check out the premium product selection from Puremind’s Split Air Conditioner Collection. Whether you need single-zone, multi-zone, or solar-compatible models, you’ll find high-performance options that fit your needs.
Conclusion
Knowing how to install a split system air conditioner gives you more control over your comfort and budget. While some parts of the process can be done DIY, don’t hesitate to call a professional for complex setups or refrigerant handling. With the right preparation, tools, and knowledge, you can enjoy efficient and quiet cooling all year round.