How to Install a Split System Air Conditioner: Step-by-Step B2B Guide
Installing a split system air conditioner in a commercial environment can dramatically improve energy efficiency, comfort, and operational control. But for business owners, property managers, or HVAC contractors, understanding how to install a split system air conditioner is critical to ensure proper function, warranty compliance, and long-term performance.
This guide offers a clear, step-by-step breakdown of the commercial installation process—ideal for B2B professionals looking to supervise or understand the scope of a split AC setup.
What Is a Split System Air Conditioner?
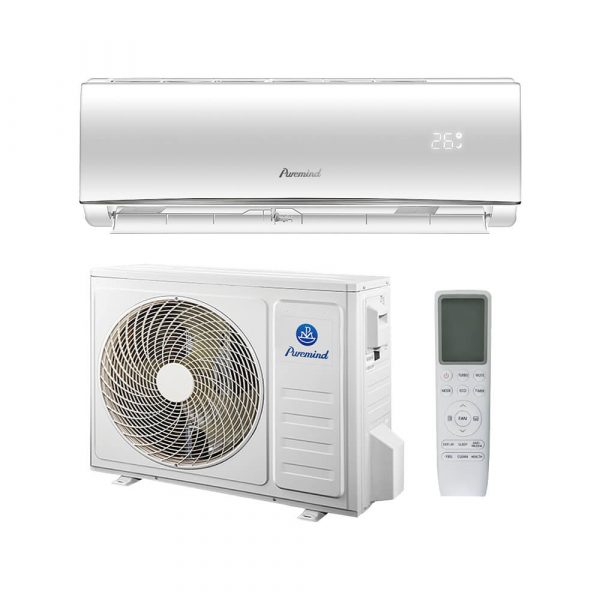
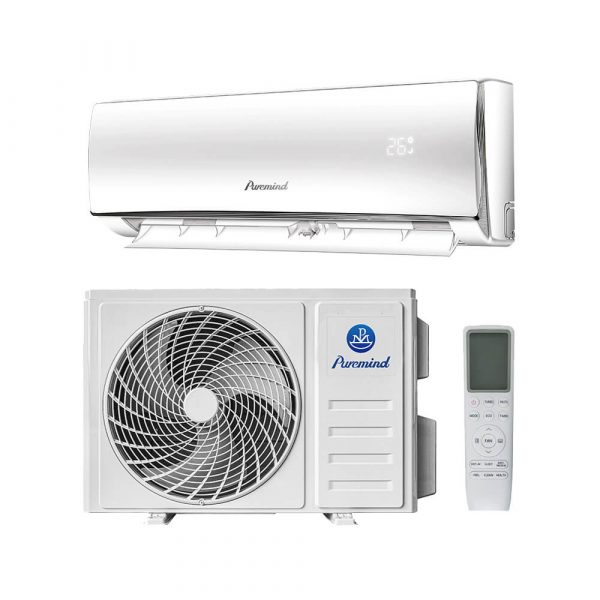
A split AC system includes two main components:
- Indoor Unit: Mounts on the wall or ceiling, distributing cooled or heated air into the room
- Outdoor Unit: Contains the compressor and condenser, exchanging heat with outside air
These units are connected by insulated refrigerant lines, a drain line, and electrical wiring.
Who Should Handle Installation?
While DIY is possible for residential users with pre-charged kits, commercial systems should always be installed by licensed HVAC professionals to meet local codes and maintain warranty coverage.
Pre-Installation Requirements
- Electrical Preparation: Dedicated circuit (15A–30A), GFCI protection, disconnect box
- Wall or Surface Mounting Clearance: Flat, unobstructed space with proper load-bearing support
- Line Set Routing: Short, direct path between indoor and outdoor units for efficiency
- Permits: Verify if a mechanical or electrical permit is needed in your region
Step-by-Step Installation Process
1. Choose Installation Locations
Select a wall inside the target zone with enough space for air circulation and line routing. The outdoor unit should be at least 18 inches from walls and raised above flood level.
2. Mount the Indoor Unit
- Fix the mounting plate securely to the interior wall studs
- Drill a 2.5–3 inch hole through the wall for line set, drain, and wiring
- Attach the indoor unit to the plate; verify it’s level
3. Install the Outdoor Unit
- Place unit on concrete pad or wall bracket
- Ensure 2–3 feet of clearance in front for airflow
- Protect with a weather cover or roof if applicable
4. Run Refrigerant Line Set
- Connect copper refrigerant lines (liquid and suction)
- Insulate lines fully to prevent energy loss
- Use flare connections; torque to spec
5. Connect Electrical Wiring
- Route power from the disconnect box to the outdoor unit
- Connect control wires between indoor and outdoor units
- Secure with waterproof conduit and follow NEC guidelines
6. Connect and Secure Drain Hose
- Ensure continuous downhill slope for gravity drainage
- Route drain to exterior or indoor plumbing system
- Use condensate pump if elevation is required
7. Vacuum and Charge the System
- Attach manifold gauges and vacuum pump to service ports
- Evacuate air and moisture to 500 microns or lower
- Open refrigerant valves on pre-charged units or add refrigerant if required
8. Final Testing and Commissioning
- Power on the system and verify cooling/heating cycles
- Check temperature differential and airflow speed
- Use leak detector on all connections
Post-Installation Checklist
| Item | Status |
|---|---|
| Indoor unit mounted level and stable | ✅ |
| Drain flowing correctly with no backflow | ✅ |
| Proper refrigerant pressure and no leaks | ✅ |
| Wiring securely fastened and compliant | ✅ |
| Remote or thermostat connected and functional | ✅ |
How Long Does Installation Take?
- Single-zone system: 4–8 hours
- Multi-zone system: 1–2 days depending on complexity
Estimated Installation Cost (2025)
| System Type | Installation Cost (USD) |
|---|---|
| Single-zone (12,000–18,000 BTU) | $1,000–$2,200 |
| Multi-zone (2–4 rooms) | $3,000–$6,000+ |
Where to Find Split System Air Conditioners
Looking to purchase commercial-grade split systems with installation-ready kits? Browse top inverter models and accessories at:
Puremind Split Air Conditioner Collection
We assist B2B clients with equipment sourcing, capacity planning, and system configuration across industries.
Conclusion
Understanding how to install a split system air conditioner is essential for commercial projects that demand performance, efficiency, and longevity. While professional installation is strongly recommended, knowing the steps involved helps you plan better, compare contractor quotes, and avoid costly mistakes.
For expert support, commercial model recommendations, or volume purchasing assistance, visit Puremind Commercial HVAC Solutions.