DIY Split System Air Conditioner: A Comprehensive Guide
The growing popularity of the DIY split system air conditioner reflects a shift toward affordable, energy-efficient climate solutions that homeowners can install themselves. With the availability of pre-charged, easy-to-assemble systems, even those with moderate DIY skills can achieve professional-level results. This article covers everything you need to know, from planning and tools to installation, troubleshooting, and product sourcing.
What Is a DIY Split System Air Conditioner?
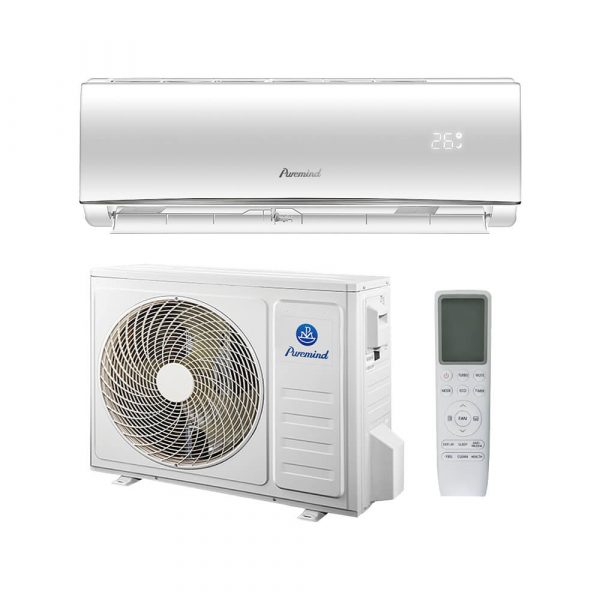
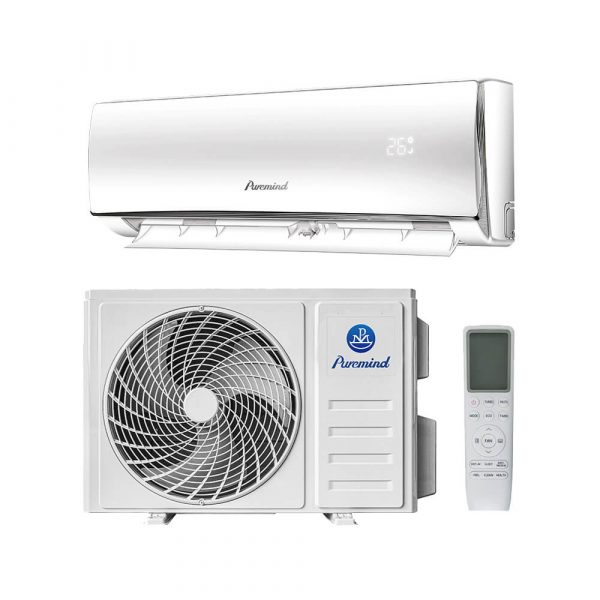
A DIY split system air conditioner consists of an outdoor condenser and an indoor air handler connected via refrigerant lines. Unlike traditional systems that require professional installation due to refrigerant handling and complex wiring, DIY units come with pre-charged refrigerant and quick-connect components, allowing homeowners to handle installation with basic tools and preparation.
Benefits of DIY Split AC Systems
- Cost Savings: Eliminate expensive labor fees—typically saving $800–$2,500.
- Convenience: Install the system on your own schedule without waiting for an HVAC technician.
- Custom Placement: Position the indoor and outdoor units exactly where needed for maximum efficiency.
- Learning and Satisfaction: Enjoy the personal accomplishment of setting up your home’s climate control system.
Who Should Consider a DIY Installation?
A DIY split system air conditioner is best suited for:
- Homeowners with some experience in using power tools
- People confident in following technical manuals and diagrams
- Single-zone or small multi-zone installations
- Properties where local codes permit self-installation
What You Need Before Starting
Tools Checklist:
- Drill and drill bits
- Stud finder
- Hole saw (typically 2.5” to 3”)
- Adjustable wrench set
- Level and tape measure
- Torque wrench (for flare nut tightening)
- Electric tester
Important Safety Reminders:
Always shut off electrical power at the breaker before working on wiring. If you’re not confident in electrical work, consult a licensed electrician for that portion of the installation.
Step-by-Step Installation Process
1. Choose Locations for the Indoor and Outdoor Units
Select an interior wall that allows for easy access to the outside for pipe routing. The outdoor unit should be placed on a flat surface with good airflow and minimal exposure to direct sunlight.
2. Mount the Indoor Unit
Secure the mounting plate to the wall using wall anchors and screws. Use a level to ensure proper alignment. Drill a hole through the wall for the piping, power cable, and drain hose.
3. Install the Outdoor Unit
Place the unit on a concrete pad or wall bracket. Ensure clearance of 12–24 inches around the unit for ventilation and service access.
4. Connect Refrigerant Lines and Wiring
DIY kits come with pre-charged refrigerant lines that connect easily to both units. Follow the manufacturer’s instructions and use a torque wrench to secure flare nuts without overtightening.
5. Wire Electrical Connections
Connect the communication wire between the indoor and outdoor units. Some kits include plug-and-play connectors. Be cautious and follow safety standards.
6. Set Up the Drainage Line
Ensure the drain hose slopes downward continuously to allow condensate water to exit without backflow or pooling.
7. Final Checks and System Start
Turn the power back on and follow the system startup procedure. Use the remote or wall-mounted controller to test cooling and heating functions. Check for error codes or unusual sounds.
Popular DIY-Friendly Split AC Brands
- MrCool: Known for true DIY units with pre-charged line sets.
- Pioneer: Offers affordable models with partial DIY compatibility.
- Senville: Reliable performance with clear manuals.
- Klimaire: Good value and accessible design.
Where to Buy Split AC Units
For a variety of efficient and affordable split AC units—including DIY-ready options—check out the full product range at Puremind’s Split Air Conditioner Collection. Their catalog includes high-quality models for residential, commercial, and off-grid applications.
Common Pitfalls and Troubleshooting
- Leaky Connections: Use a torque wrench and double-check all fittings.
- Improper Drain Line Slope: This can lead to water pooling and mold.
- Electrical Overload: Don’t overload the circuit—check the amperage requirements.
- Incorrect Unit Size: Use a BTU calculator to determine the proper capacity for your space.
When to Call a Professional
Even with DIY systems, you should seek professional help if you:
- Encounter electrical issues
- Suspect a refrigerant leak
- Are unsure about code compliance in your area
Conclusion
A DIY split system air conditioner is a practical and cost-effective option for homeowners looking to enjoy year-round comfort without breaking the bank. With proper planning, the right tools, and a solid understanding of the process, most installations can be completed in a single weekend. Be sure to review manufacturer guidelines and prioritize safety every step of the way.