DIY Air Conditioner Split System: A Complete Homeowner’s Guide
Installing a DIY air conditioner split system is an increasingly popular solution for homeowners looking to save on professional installation costs while enjoying efficient heating and cooling. With the rise of pre-charged mini split kits and simplified instructions, many brands now offer units specifically designed for self-installation. This article will walk you through everything you need to know before tackling your own DIY split AC project—from preparation and tools to common mistakes and safety tips.
What Is a DIY Air Conditioner Split System?
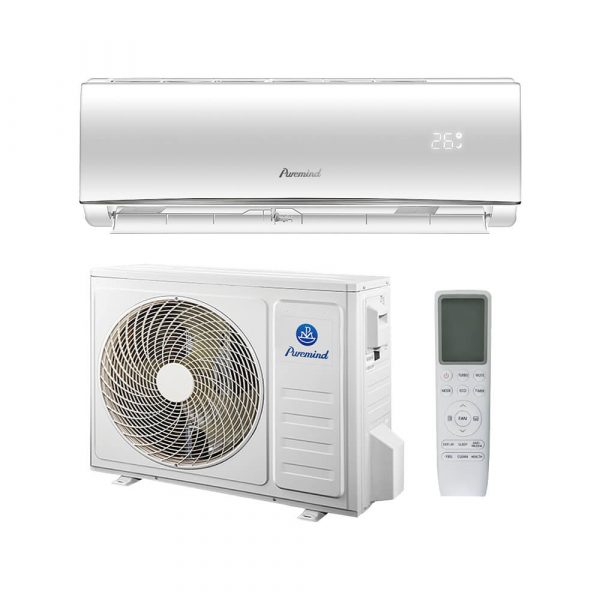
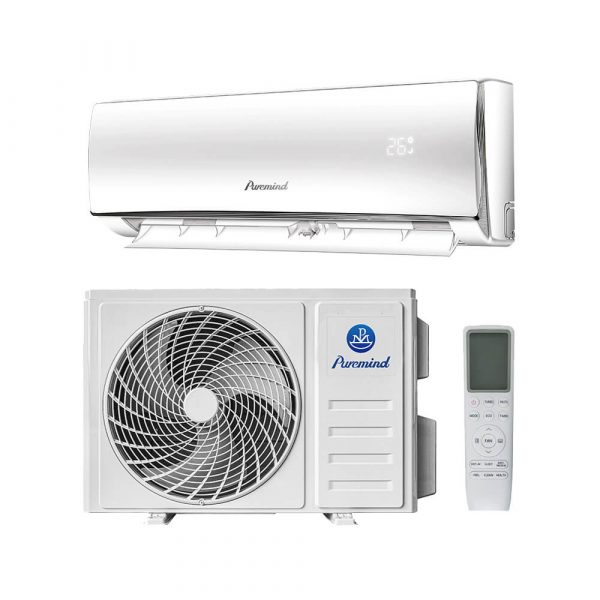
A split system air conditioner consists of two main parts: an indoor air-handling unit and an outdoor condenser/compressor. Traditional systems require professional installation due to refrigerant handling and electrical wiring. However, DIY split systems come pre-charged with refrigerant, use quick-connect line sets, and include step-by-step manuals to simplify the installation process for handy homeowners.
Advantages of DIY Split System Installation
- Cost Savings: You can save $500–$2,000 by avoiding professional labor fees.
- Convenience: Install the unit on your schedule—no waiting for appointments.
- Learning Experience: Gain knowledge about HVAC systems and home improvement.
- Custom Placement: Choose exact locations for indoor and outdoor units to match your space.
Is DIY Right for You?
Not all DIYers are equal. Here’s how to determine if this project is suitable for you:
- You’re comfortable using power tools and a drill.
- You have basic knowledge of electrical systems or can follow diagrams closely.
- You’re installing a system in a single-zone environment.
- You have access to a wall that leads directly outside for refrigerant line routing.
Tools and Equipment You’ll Need
Most DIY kits include basic components, but you may still need the following tools:
- Stud finder
- Drill and bits
- Hole saw (usually 2.5 to 3 inches)
- Adjustable wrench set
- Level
- Torque wrench (for flare nut connections)
- Electrical tester
Step-by-Step DIY Installation Overview
1. Choose an Installation Location
Select a clear wall area inside the room for the indoor unit and a stable, ventilated area outside for the condenser.
2. Mount the Indoor Unit
Use a stud finder to mount the wall bracket securely, then drill a hole for the refrigerant lines, drain hose, and power cable to pass through.
3. Prepare the Outdoor Unit
Place the condenser on a level surface or use a wall bracket. Make sure it has 12–24 inches of clearance on all sides for proper airflow.
4. Connect Refrigerant Lines
Feed the lines through the wall hole and connect them using the provided flare nuts. Use a torque wrench to ensure leak-proof connections.
5. Wire the Electrical Components
Connect the communication cable between indoor and outdoor units, then run a dedicated circuit to your breaker panel if needed. Always shut off power before working with electricity.
6. Secure the Drain Hose
Ensure the drain hose slopes downward to allow condensate to exit the unit naturally without blockage.
7. Test the System
After checking all connections, restore power and turn on the system. Look for error codes and listen for abnormal noises.
Common Pitfalls to Avoid
- Over-tightening refrigerant fittings: May damage flare connections.
- Improper slope of drain line: Can lead to leaks and mold growth.
- Inadequate wall support: May cause vibrations or falling hazards.
- Skipping electrical safety: Always consult a certified electrician for high-voltage wiring.
Brands Offering DIY-Ready Kits
Several reputable brands cater to DIYers with plug-and-play kits:
- Pioneer
- Senville
- MrCool (especially the “DIY” series)
- Klimaire
Where to Buy Quality Split Air Conditioners
Interested in more options for split systems, including those suitable for DIY installation? Explore the wide selection available at Puremind’s Split Air Conditioner Collection. Whether you’re a homeowner, RV owner, or small business, Puremind offers efficient and affordable choices for every application.
When to Call a Professional
Even with DIY kits, it’s wise to consult an HVAC technician if:
- You’re unsure about high-voltage wiring
- You hear hissing (possible refrigerant leak)
- The unit doesn’t cool/heat properly after installation
Final Thoughts
A DIY air conditioner split system can be a rewarding, money-saving project if done right. With pre-charged refrigerant kits, simplified instructions, and a bit of technical confidence, you can enjoy efficient, whisper-quiet comfort in your home without hiring an HVAC technician. Just make sure to follow all safety precautions and never hesitate to get professional advice if needed.