Cleaning a Mini Split Air Conditioner: A Complete Guide
Keeping your HVAC system clean is essential for performance and health. Cleaning a mini split air conditioner not only improves efficiency but also enhances indoor air quality and extends the unit’s lifespan. Whether you use it daily or seasonally, regular maintenance can help prevent common issues like musty smells, low airflow, or refrigerant inefficiencies. In this article, we’ll guide you step by step through the cleaning process for both the indoor and outdoor components of a ductless mini split system.
Why Cleaning a Mini Split AC Matters
Over time, dust, pollen, mold spores, and other contaminants can accumulate inside your mini split system. This buildup can lead to:
- Reduced airflow and cooling performance
- Increased energy consumption and higher utility bills
- Foul odors and microbial growth
- Strain on components, reducing system life
- Decreased indoor air quality, affecting your health
Fortunately, cleaning is easy to do with basic tools and the right precautions.
How Often Should You Clean a Mini Split?
Here’s a general cleaning frequency guide:
- Air filters: Every 2 to 4 weeks
- Indoor coils and blower: Every 3 to 6 months
- Condensate drain line: Every 6 months
- Outdoor unit: Twice a year, or after storms/heavy debris
Homes with pets, smokers, or high humidity may require more frequent maintenance.
Tools and Supplies You’ll Need
- Soft microfiber cloths or towels
- Vacuum cleaner with brush attachment
- Fin comb or soft brush for coils
- Mild detergent or coil cleaner spray
- Bucket of warm water
- Garden sprayer or spray bottle
- Mini split cleaning bag (optional but helpful)
Step-by-Step Guide: Cleaning the Indoor Unit
1. Turn Off the Power
Before starting, switch off the power to the unit at the breaker. This prevents accidents and protects electrical components.
2. Open the Front Panel
Lift the cover to access the air filters and coils. Most units have tabs or clips that allow easy access.
3. Remove and Clean the Air Filters
Gently slide out the filters. Rinse them under lukewarm running water and use a soft brush to remove stubborn dust. Let them dry completely before reinserting.
4. Clean the Evaporator Coils
Use a coil cleaner spray or diluted mild detergent. Spray evenly over the coil surface. Wait 5–10 minutes, then wipe gently with a soft cloth. Avoid bending the fins.
5. Clean the Blower Wheel (Optional)
For deep cleaning, remove the blower wheel if accessible. Vacuum dust or wipe down carefully. This step is more advanced and may require professional assistance.
6. Check and Clear the Drain Line
Look for signs of clogs in the condensate drain line (e.g., standing water or leaks). Use a wet-dry vacuum to remove blockages or flush with a vinegar-water solution.
7. Wipe the Housing
Clean the outer surface of the unit and the louvers with a damp cloth to remove dust and grime.
Cleaning the Outdoor Unit (Condenser)
1. Disconnect Power Supply
Always turn off the power at the outdoor disconnect box or breaker before cleaning.
2. Remove Debris
Clear away leaves, twigs, and dirt around the unit. Ensure at least 2 feet of clearance on all sides for proper airflow.
3. Clean the Fins and Coils
Use a garden hose with light pressure to rinse the exterior. Avoid spraying directly into the fan motor. For dirty coils, apply a coil cleaner and rinse after 10–15 minutes.
4. Straighten Bent Fins (Optional)
If necessary, use a fin comb to straighten bent aluminum fins. This helps restore airflow and efficiency.
5. Check for Rust or Damage
Inspect the unit for corrosion or visible wear. Contact a technician for repairs if needed.
Professional Cleaning vs. DIY
While DIY cleaning is sufficient for routine maintenance, professional servicing is recommended once a year to:
- Check refrigerant levels and pressure
- Inspect electrical connections and sensors
- Clean internal fan components
- Flush or replace clogged drain lines
Technicians use specialized tools and can access deep components more effectively.
Tips for Cleaner Air and Longer System Life
- Use a dehumidifier in high-humidity rooms
- Install a surge protector to prevent electrical damage
- Run the fan mode occasionally to dry out moisture inside the unit
- Replace filters if they appear damaged or discolored
When to Replace Instead of Clean?
If your mini split is over 10–15 years old, constantly leaking, or has declining performance despite cleaning, it might be time to upgrade. Modern systems are more energy-efficient, quieter, and often include smart features.
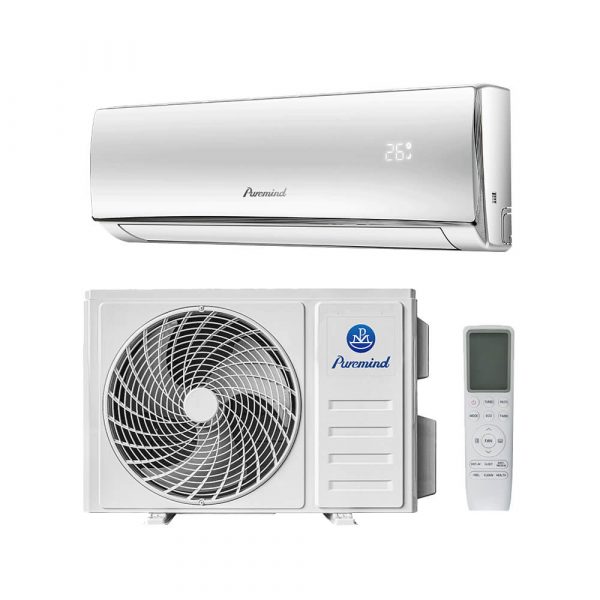
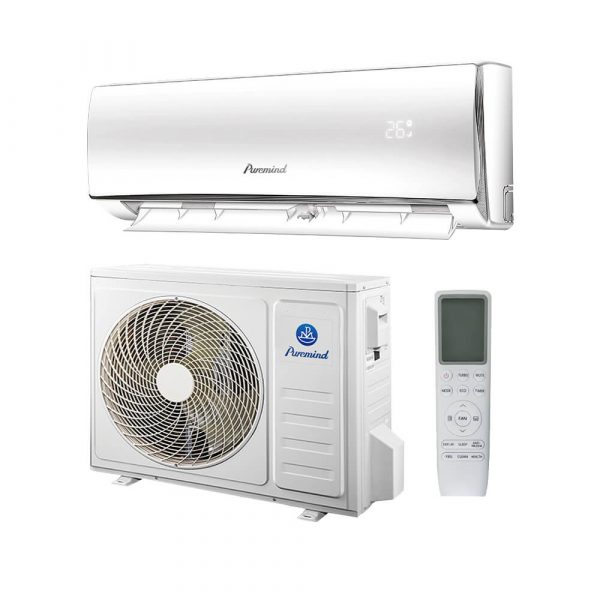
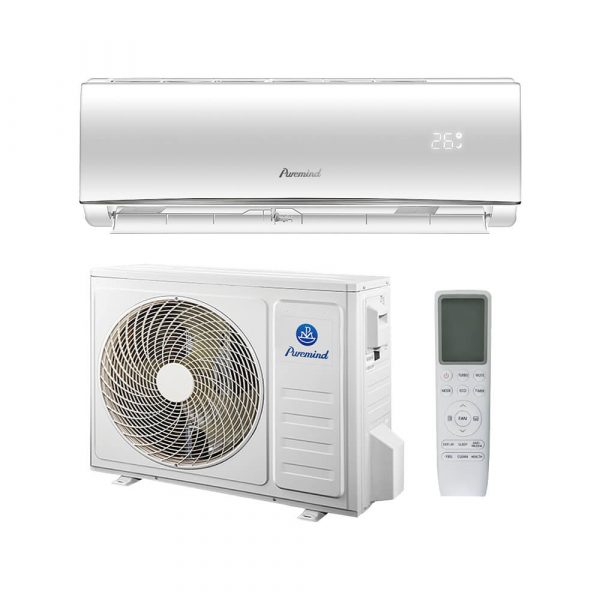
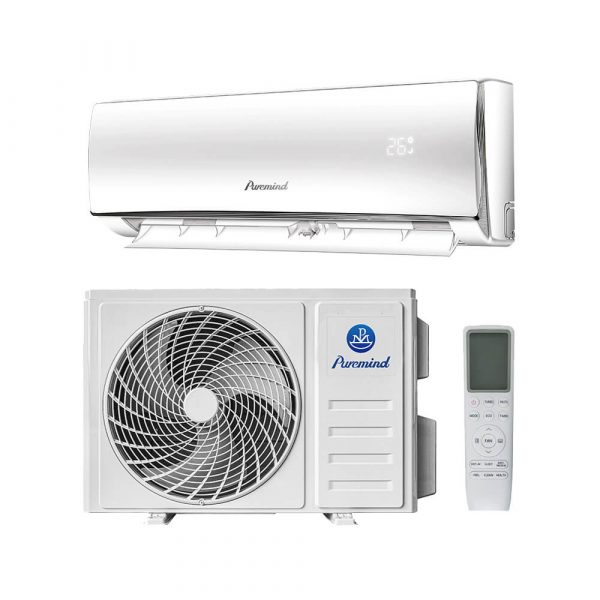
Need a new system? Explore Puremind’s mini split air conditioner collection for reliable, factory-direct solutions designed for homes, offices, and light commercial spaces.
FAQs About Cleaning a Mini Split Air Conditioner
Q: Can I clean the coils without removing the unit?
Yes. With a coil cleaning spray and soft cloth, you can clean the evaporator coils in place. Just be careful not to bend the fins.
Q: What if my unit smells bad even after cleaning?
This could indicate mold inside the blower or drain line. Deep cleaning or a technician’s help may be necessary.
Q: Is a cleaning bag necessary?
No, but it helps protect your walls and floor during deep cleaning. Especially useful if you clean with water indoors.
Q: Can I use bleach to clean the drain line?
Use vinegar or a diluted cleaning solution instead. Bleach can damage some plastic tubing and internal parts.
Conclusion
Cleaning a mini split air conditioner is a simple yet essential task that improves system efficiency, extends its lifespan, and maintains indoor air quality. By regularly cleaning the filters, coils, and drain lines, you can avoid expensive repairs and enjoy consistent, clean, and energy-efficient cooling.
Ready for an upgrade or looking for a new system that’s easy to maintain? Check out Puremind’s mini split air conditioners designed for performance, durability, and convenience.


